People are always on the lookout for easy-to-use, inexpensive (or sometimes free), and feature-rich music players. For quite some time now, Spotify has dominated that throne. However, with Hi-Fi Tidal’s celebrity promoted launch, it has been on a high wave. Tidal not only prides itself on its lossless streaming quality.
On top of that, a number of celebrities have backed Tidal up as well and fans and artists are able to benefit from Tidal’s exclusive memberships and features. Fans can engage with direct sessions with their artists, stay up to date with meet and greet sessions, live exclusive shows, and more. In this way, both the artists as well as the fans are able to get something out of the premium membership which they can avail.
Tidal also offers social media connectivity and the ability to share your status, songs, etc. via social media apps such as Facebook, Instagram, etc. You can connect your Facebook account to Tidal, share updates about your favorite songs or playlists. Today’s topic about Tidal is going to be more specific and will help you guys solve a problem that we’ve found to be quite common. And that is, how to disconnect Tidal from Facebook.
Part 1. How to Disconnect Tidal from Facebook
You can connect Tidal to Facebook account, and Facebook can get the access it needs from that application. You can do all sorts of things when you’ve granted access such as posting your song on your Facebook story or sending it via Messenger. All that’s pretty simple and straightforward. However, if you need to disconnect your Tidal account, you need to do a few additional steps.
If you’re using the Facebook website on your computer or your laptop, you can follow the following steps to unlink your Facebook Tidal account.
Go to your “Settings and Privacy” on your Facebook account and click on the “Apps and Websites” button in the left tab. Going there will let you see all the third-party applications and websites that have access to your Facebook account. Simply remove Tidal from that list and you’ll have successfully deactivated your Tidal Facebook login.
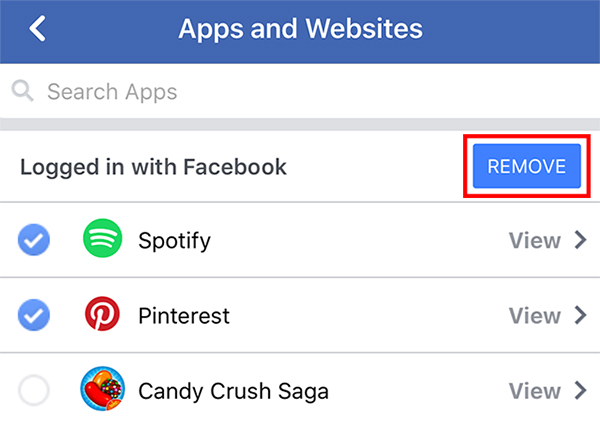
If you’re on the mobile application, you will go to “Settings” and then “Settings and Privacy”. From there, click on “Apps and Websites” and then simply remove Tidal from the shown apps to revoke access and disassociate Tidal account with Facebook.
Part 2. How to Disconnect Facebook from Tidal
Instead of navigating to the Facebook website, it’s also available to disconnect Facebook from the Tidal app directly. The operation process is easier than the above steps. Here, let’s take a look at the complete user guide.
Step 1. Open the Tidal app on your mobile devices.
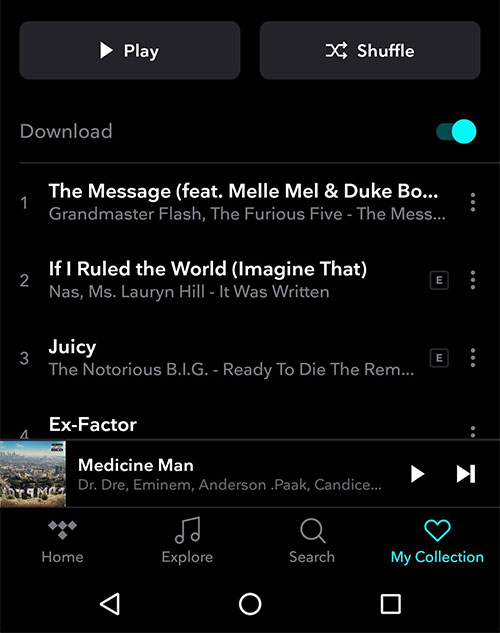
Step 2. At the bottom right of the screen, tap the “My Collection” option.
Step 3. Go to the top right and select the Settings icon. (The setting icon is like a gear.)
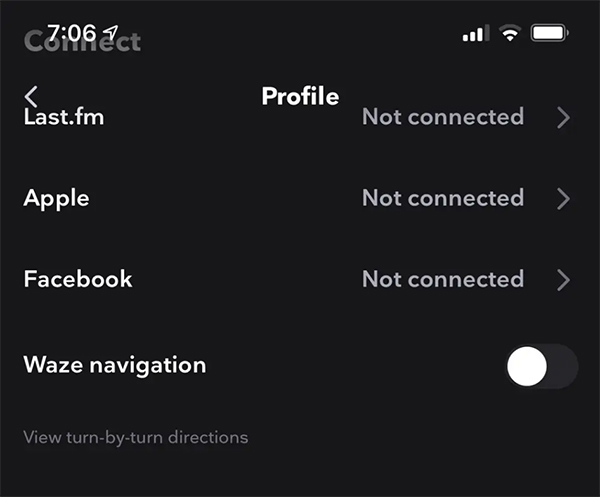
Step 4. You can disconnect Facebook from Tidal by clicking on the arrow.
Part 3. Backup Tidal Music from Old Facebook Tidal Account
If you’ve been using the trial version of Tidal and have connected it with your Facebook account as well, you’ll have made lots of progress. You don’t want to lose all that when you disconnect Facebook from Tidal after your trial period is completed. Luckily, we’ve brought forward a solution and a fix for this.
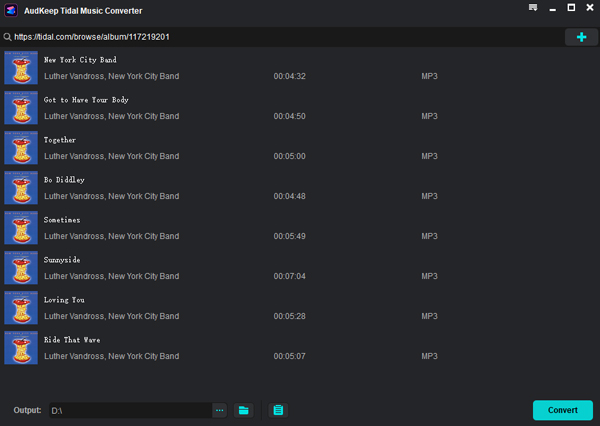
AudKeep Tidal Music Converter is a phenomenal music converter that converts all your Tidal songs to a variety of downloadable formats, letting you save and backup your Tidal music locally. The process is simple and very quick, and we are going to show how you can download all your Tidal songs and playlists locally before you disconnect Tidal from Facebook.

Main Features of AudKeep Tidal Music Converter
- Download music from Tidal without using the Tidal app
- Convert Tidal music to common audio files, like FLAC, etc.
- Preserve lossless Tidal audio quality, including all ID3 tags
- Back up and keep Tidal songs and playlists on local hard drive
Once you have downloaded the AudKeep Tidal Music Converter, you will need to install it. If you do not have a subscription for AudKeep Software, you will only be able to convert a third of each track. However, the subscription is well worth it as AudKeep provides a number of more features and uses as well. Copy and paste the registered code that you received via email by going to Menu to Register. Once that’s set up, you’ll be then ready to start downloading and backing up your Tidal music locally.
In the top-right menu, go to “Preferences” and then “Advanced” to open up a window. This window will let you set up some default parameters. Bit rate, output format, and more are just some of the options that you can configure for the exported songs. After that, you need to just add the songs or playlists that you want to download and add them to the list. Once you’re ready, simply hit “Convert” and AudKeep Tidal Music Converter will start converting and downloading all the songs that you’ve selected.
Part 4. In Conclusion
Tidal music app is an excellent and remarkable application that really connects the space between the artists and the fans. The exclusive features really give people the chance to earn ways to connect with their artists in different ways. This article helps you understand how you can unlink your Facebook Tidal account. And, we go a step beyond and give you a way to download all your Tidal songs locally and save them in whichever format you wish.